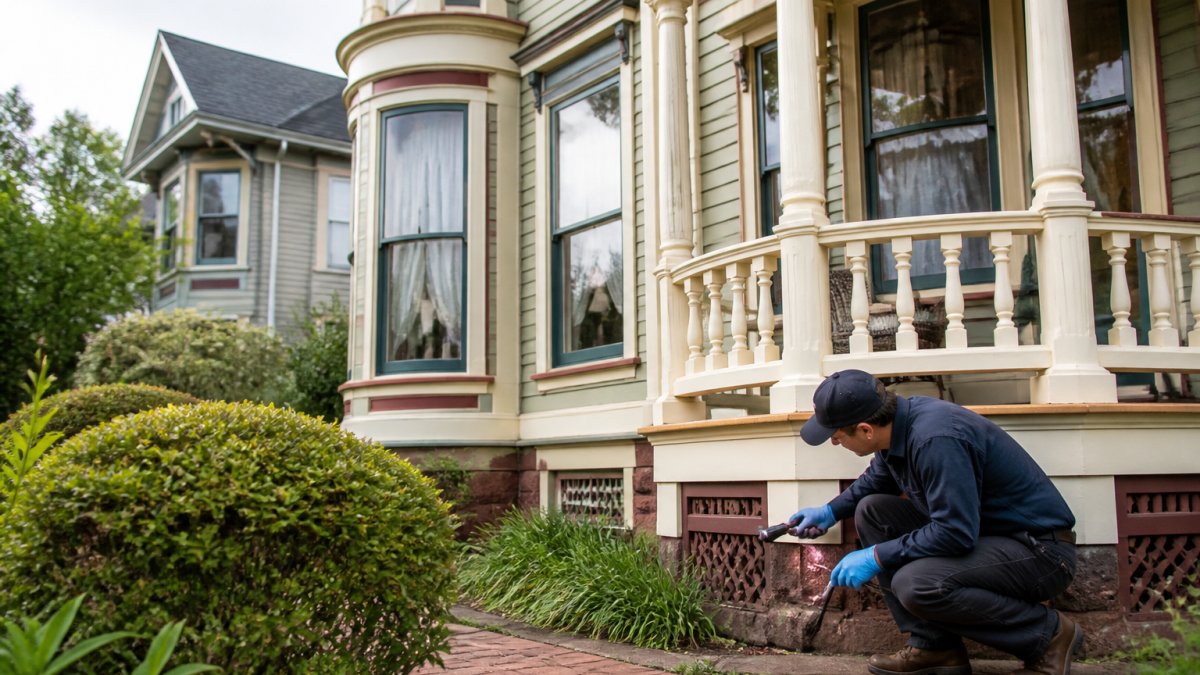
Table of Contents
- Why Protecting Historic Homes from Pests Requires a Different Playbook
- Pest Inspection for Historic Properties: What to Check and When
- Sealing Cracks, Gaps, and Entry Points Without Damaging Original Materials
- Termite Prevention for Old Houses: Protecting Historic Wood
- Integrated Pest Management for Historic Buildings: The IPM Framework
- Preservation-Friendly Pest Control: Moisture, Vegetation, and Habitat Management
- When to Call a Professional: Costs, Warranties, and Historic Preservation Rules
- Frequently Asked Questions
Last Updated: October 14, 2026
Why Protecting Historic Homes from Pests Requires a Different Playbook
Protecting historic homes from pests means solving a modern problem without harming hundred-year-old materials.
We work on historic properties across Ventura, Los Angeles, and Santa Barbara Counties. The standard spray-and-seal approach fails here: it cracks original finishes, traps moisture, and often breaks preservation rules.
Below is a preservation-first protocol: what to check, when, and how to treat problems without damaging the structure.
Pest Inspection for Historic Properties: What to Check and When
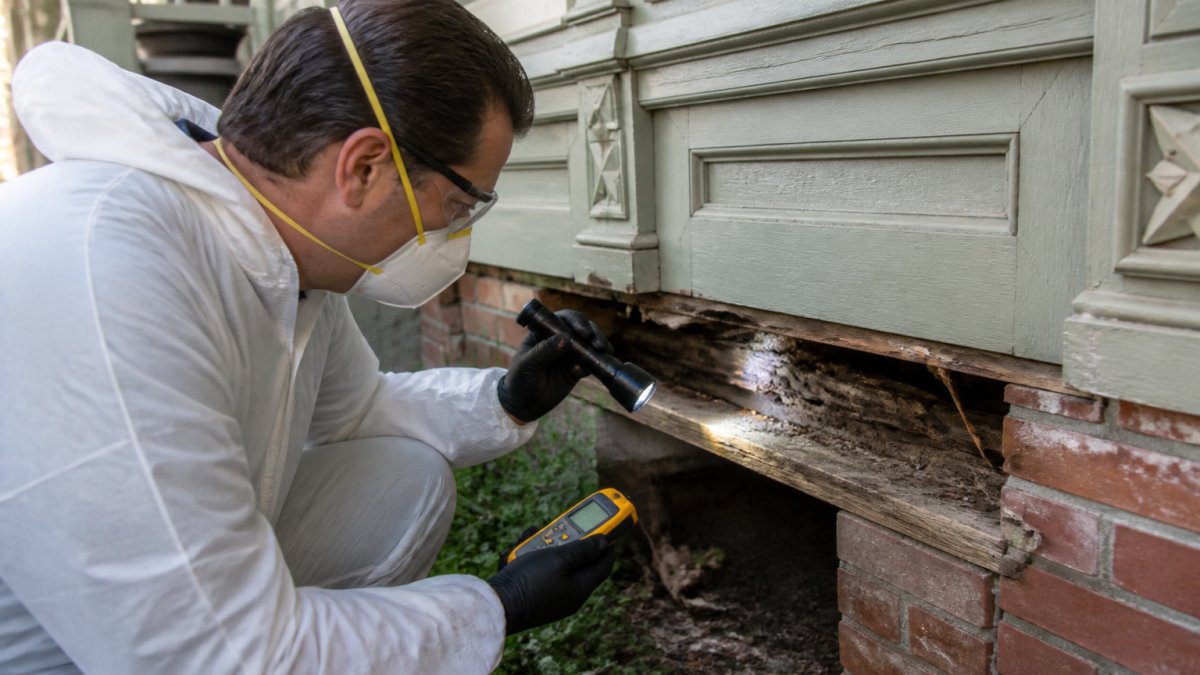
Pest inspection for historic properties starts with the building's weak spots: the foundation, sill plate, roof framing, and every gap where utilities enter. Check these twice a year at minimum.
Old buildings hide pests well. Historic stacked stone, brick, and timber shift over time, opening small gaps you will never spot from the sidewalk.
Walk the property with a flashlight and moisture meter. Look for:
- Frass, which is fine sawdust-like powder under wooden beams
- Mud tubes on foundation walls, a classic termite sign
- Droppings along baseboards and in attic insulation
A Seasonal Inspection Calendar for Older Buildings
Timing matters as much as technique. Pests follow seasons, and so should your inspections.
| Season | Focus Area | What to Look For |
|---|---|---|
| Spring | Foundation, crawlspace | Termite swarms, mud tubes, moisture |
| Summer | Attic, roof framing | Carpenter ants, wasps, bat activity |
| Fall | Perimeter, entry points | Rodent runs, gaps, vegetation contact |
| Winter | Interior, basement | Overwintering insects, droppings, gnaw marks |
Keep written records of every inspection, date, area checked, findings. This log reveals patterns and proves due diligence if a preservation board asks questions.
Sealing Cracks, Gaps, and Entry Points Without Damaging Original Materials
Sealing cracks and gaps in a historic home requires flexible, reversible materials. Rigid caulk and expanding foam crack plaster and trap moisture against original wood, damage that costs far more than the pest problem itself.
Here are some recommendations:
- Use backer rod plus flexible sealant on gaps wider than a quarter inch
- Pack copper mesh into openings around pipes and vents
- Install door sweeps that screw into the frame, not the original door
Termite Prevention for Old Houses: Protecting Historic Wood
Termite prevention for old houses focuses on moisture control and physical barriers, not chemical saturation. Old-growth heartwood resists termites better than modern lumber, but only when it stays dry.
Subterranean termites build mud tubes from soil to wood; drywood termites live inside the wood and push out pellets. Both need fast, different responses, never a blanket approach on a historic structure.
A Pest-by-Pest Decision Guide for Historic Materials
Use this as a triage tool. Confirm identification before acting, and treat anything touching structural members as urgent.
Subterranean termites
- Signs: mud tubes on foundation walls, sill plates, or piers; hollow-sounding wood; swarmers near the foundation in spring.
- Risk to historic fabric: high. They attack sill plates, joists, and any wood in soil contact, which are often original old-growth timbers.
- Preservation-safe response: correct the moisture source first, then use soil-applied termiticides or bait stations placed outside the building envelope. Avoid drilling original foundation masonry unless a licensed professional confirms no alternative.
Drywood termites
- Signs: small kick-out holes with six-sided pellets, often in attic framing, window sills, or exposed beams.
- Risk to historic fabric: high in warm coastal climates; colonies develop slowly and can go unnoticed for years.
- Preservation-safe response: localized treatment of affected wood with labeled borate or injected products when the infestation is contained. Whole-structure fumigation is effective but disruptive and requires vacating the home; discuss with a professional whether localized treatment is viable.
Carpenter ants
- Signs: smooth excavated galleries, sawdust-like frass, rustling sounds in walls at night, winged swarmers indoors in spring.
- Risk to historic fabric: moderate to high. They do not eat wood but excavate it, and they almost always indicate a moisture problem nearby.
- Preservation-safe response: find and fix the moisture source, then treat the nest directly. Baits and targeted applications work better than perimeter spraying, which can stain plaster and kill beneficial insects.
Powderpost beetles
- Signs: fine flour-like dust beneath wood, tiny round exit holes, especially in hardwood flooring, paneling, and furniture.
- Risk to historic fabric: variable. Some species reinfest; others do not. Confirming live activity matters before treating.
- Preservation-safe response: monitor emergence holes over a full season. If activity is confirmed, treat affected wood only with a labeled borate product. Avoid surface finishes that alter the appearance of historic wood.
Old house borers
- Signs: oval exit holes roughly a quarter inch across, often in softwoods like pine or fir used in framing and subflooring.
- Risk to historic fabric: moderate. Larvae can work inside structural lumber for years before emerging.
- Preservation-safe response: confirm activity, then treat affected members with labeled products. In severe cases, sistering or replacing damaged framing may be necessary, which is when preservation review becomes relevant.
Rodents
- Signs: droppings, gnaw marks, grease trails along walls, nesting material in attics and crawlspaces.
- Risk to historic fabric: moderate directly, high indirectly. Gnawing damages wiring and pipes, and rodent urine stains plaster and finishes.
- Preservation-safe response: exclusion first. Seal entry points with copper mesh and hardware cloth rather than expanding foam, which traps moisture and hides activity. Avoid poison baits inside wall cavities, since dying rodents create odor and stain problems that are expensive to remediate.
Why Identification Comes Before Treatment
Every product is labeled for specific pests, sites, and application methods. Using the wrong product for a pest wastes resources and may not be effective.
Identification to species level, or at least pest category, determines everything downstream. If unsure, save a specimen or clear photo and have it confirmed before opening any product.
Monitoring After Treatment
Treatment is not the end. Recheck treated areas at thirty, ninety, and one hundred eighty days for new frass, pellets, mud tubes, or gnawing. Log each check with date, location, and findings, a written record turns a one-time treatment into a maintenance plan and provides evidence for warranty claims or preservation review.
Integrated Pest Management for Historic Buildings: The IPM Framework
Integrated pest management for historic buildings often follows five steps: inspect, identify, set action thresholds, treat, and monitor. This approach often treats pesticides as a last resort.
That order matters on old structures. A broad chemical application can stain original plaster, kill beneficial insects, and violate preservation guidelines.
- Inspect the whole building, not just the problem room
- Identify the pest to species level before acting
- Set an action threshold, the point where treatment becomes necessary
- Choose the least invasive control measure that works
- Monitor results and adjust the plan
Monitoring Tools That Leave No Trace
Monitoring catches problems before they spread and avoids unnecessary treatments.
- Pheromone traps for stored-product and wood-boring insects
- Glue traps along walls to track rodent travel paths
- Moisture meters to find the conditions pests need
Check traps weekly and log every catch. A rising count means the underlying problem is getting worse.
Preservation-Friendly Pest Control: Moisture, Vegetation, and Habitat Management
Preservation-friendly pest control starts with environmental control. Pests need food, water, and shelter. Remove those three and most infestations never start.
Moisture is the biggest driver. Poor drainage, clogged gutters, and bad ventilation create the damp conditions termites and carpenter ants love. Fix grading so water flows away from the foundation.
Vegetation management comes next. Shrubs and trees touching the building act as pest bridges.
Inside, focus on routine cleaning and food storage:
- Store pantry goods in sealed containers
- Fix dripping faucets and condensation lines
- Vacuum corners and behind appliances monthly
When to Call a Professional: Costs, Warranties, and Historic Preservation Rules
Some pest problems are weekend projects; others are not. On a historic structure, the line is narrower than most owners expect, because a wrong move can damage original fabric that cannot be replaced.
Call a licensed pest control professional or a qualified preservation contractor when you find any of the following:
- Live termites, mud tubes, or swarmers anywhere on the property
- Rodents or their droppings inside wall cavities, attics, or crawlspaces
- Powderpost beetle emergence holes in structural timbers or flooring
DIY bait stations and sealants are fine for pantry moths or a single mouse. They are not fine for anything touching the structure.
What Inspections and Treatments Typically Cost
Pricing varies by region, building size, and pest. Ask for a written estimate that separates inspection, treatment, and any carpentry or repair. Bundled pricing hides which line items you can shop around.
Questions to Ask Before You Hire
- Are you licensed in this state for the specific pest you are treating?
- Have you worked on buildings with original plaster, old-growth timber, or designated historic features?
- What treatments will you use, and are they labeled for indoor use around children and pets?
Get answers in writing. Verbal assurances are hard to enforce if damage appears months later.
How Preservation Review Actually Works
If your home is listed on the National Register of Historic Places, contributes to a locally designated historic district, or is covered by a preservation easement, exterior alterations may require review before work begins.
Interior work is usually less regulated, but not always. Easements and some local ordinances reach interior features like staircases, mantels, and plaster walls. When in doubt, ask before you drill.
A practical sequence:
- Confirm your property's status with your local preservation office or planning department.
- Describe the proposed pest work in plain terms, including any drilling, sealing, or material replacement.
- Ask whether a certificate of appropriateness, permit, or staff-level review is required.
- If review is required, submit plans before scheduling treatment.
- Keep inspection reports, treatment records, and product labels on file.
A preservation consultant or architectural historian can help if the process is unclear. Many states also run a State Historic Preservation Office that answers procedural questions at no cost.
Warranties and Documentation
Read the warranty language carefully. Most cover re-treatment if the target pest returns within a defined period, not structural repair or cosmetic damage. Some exclude homes with known moisture problems, prior DIY treatments, or inaccessible crawlspaces.
Keep a file with the inspection report, treatment plan, product labels, warranty terms, and any preservation approvals. It protects you if you sell, file an insurance claim, or face preservation review later.
Frequently Asked Questions
How can you prevent pests in a historic home without damaging original materials?
Start with exclusion and environmental control rather than chemicals. Seal cracks and gaps with compatible materials like copper mesh and backer rod instead of expanding foam that can bow historic trim. Fix moisture problems, improve ventilation in crawl spaces, and trim vegetation away from the structure. Use integrated pest management for historic buildings: monitor with glue traps and pheromone traps, identify pests correctly, and set action thresholds before any targeted treatment. This approach protects original finishes, plaster, and woodwork while still eliminating entry points and food sources.
What pests commonly damage historic homes?
Termites, carpenter ants, and powderpost beetles cause the most structural damage to historic wood. Rodents and wildlife such as squirrels, raccoons, and bats enter through gaps in foundations, rooflines, and chimneys. Cloth moths and carpet beetles damage textiles and wool insulation. In older homes with original wood siding and beams, subterranean termites are the primary concern because they tunnel silently through structural timbers. Routine surveillance and early pest identification let you catch activity before it compromises load-bearing wood.
When should you call a pest control professional for a historic home?
Call a specialist when you find live termites, frass, or hollow-sounding wood; when you see rodents or wildlife entering the structure; or when monitoring traps show rising activity despite your prevention efforts. Also call before any treatment that involves pesticides near original finishes or delicate surfaces, because material compatibility matters. A professional can confirm pest identification, set action thresholds, and apply targeted treatment that meets preservation standards. If your property has historic designation, confirm whether local preservation rules require review before structural work.
How often should a historic home be inspected for pests?
Inspect at least twice a year, ideally in spring before swarm season and in fall before rodents seek shelter. Add a check after any major storm, plumbing leak, or roofing repair, since moisture attracts pests. If your area has heavy termite pressure, quarterly monitoring with glue traps and pheromone traps is worth the effort. Keep written records of every inspection, including date, location, pest activity, and action taken. This recordkeeping helps you spot seasonal patterns and gives preservation consultants or insurers a clear maintenance history.